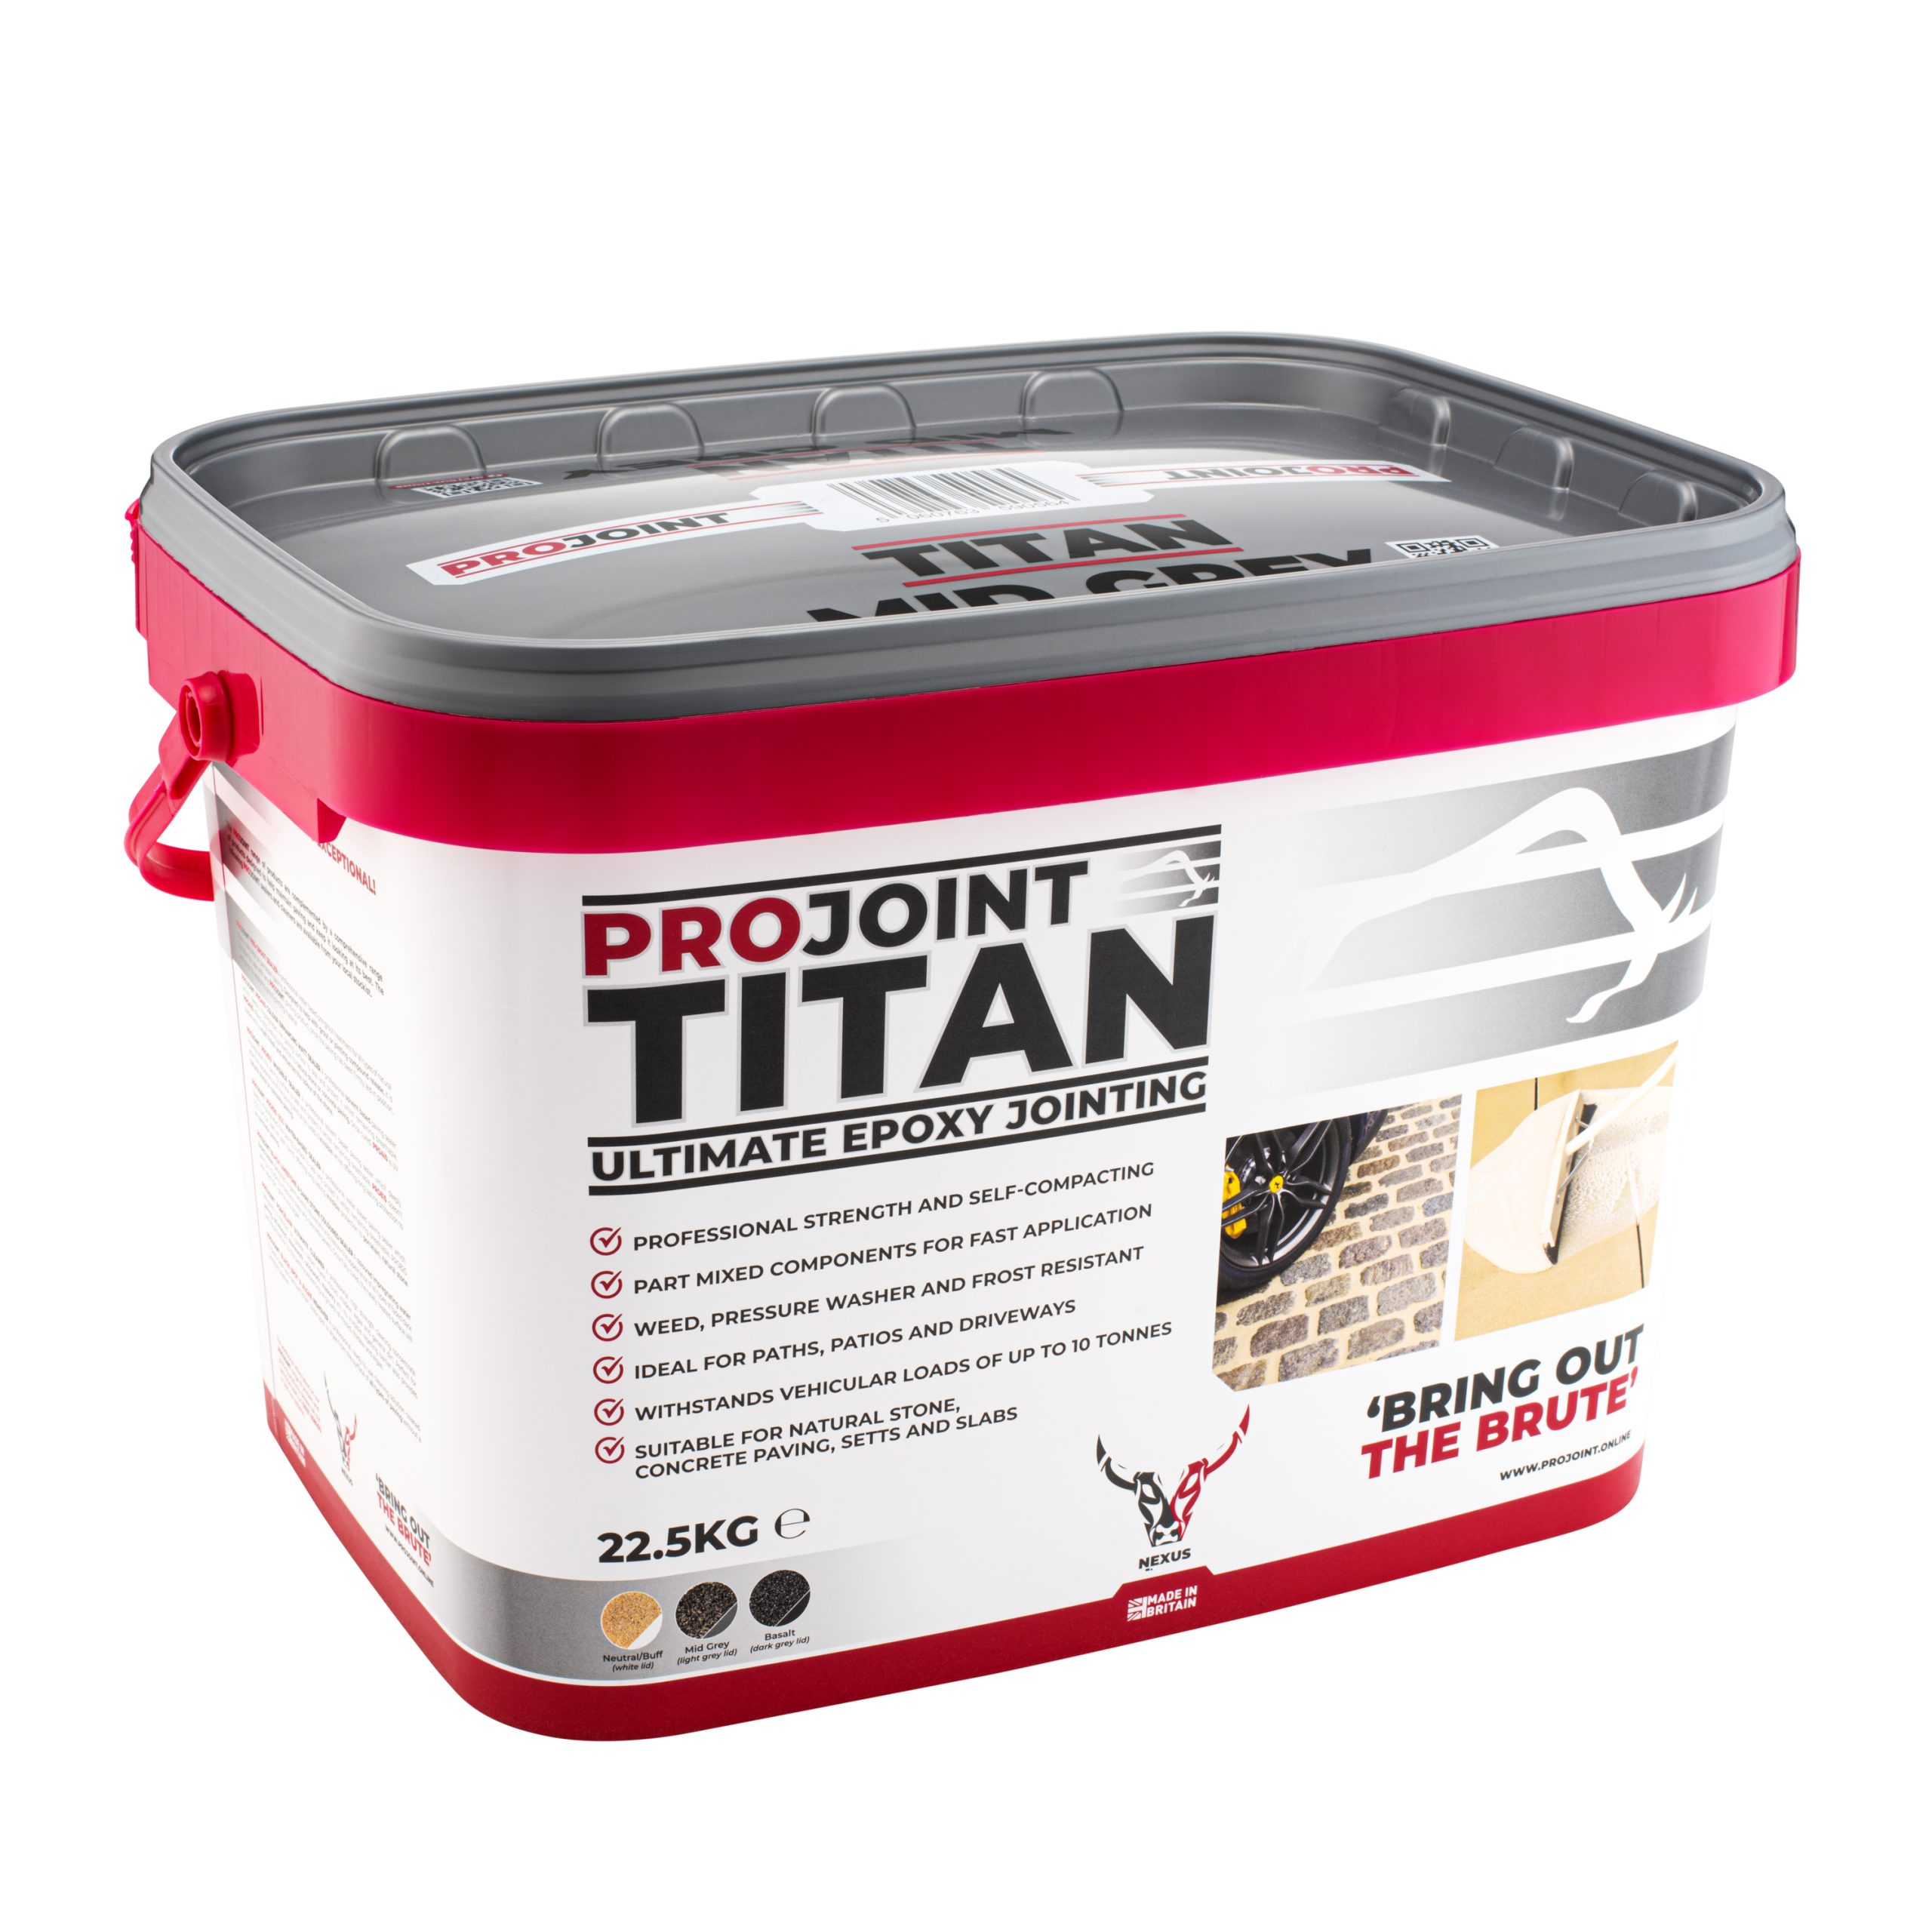
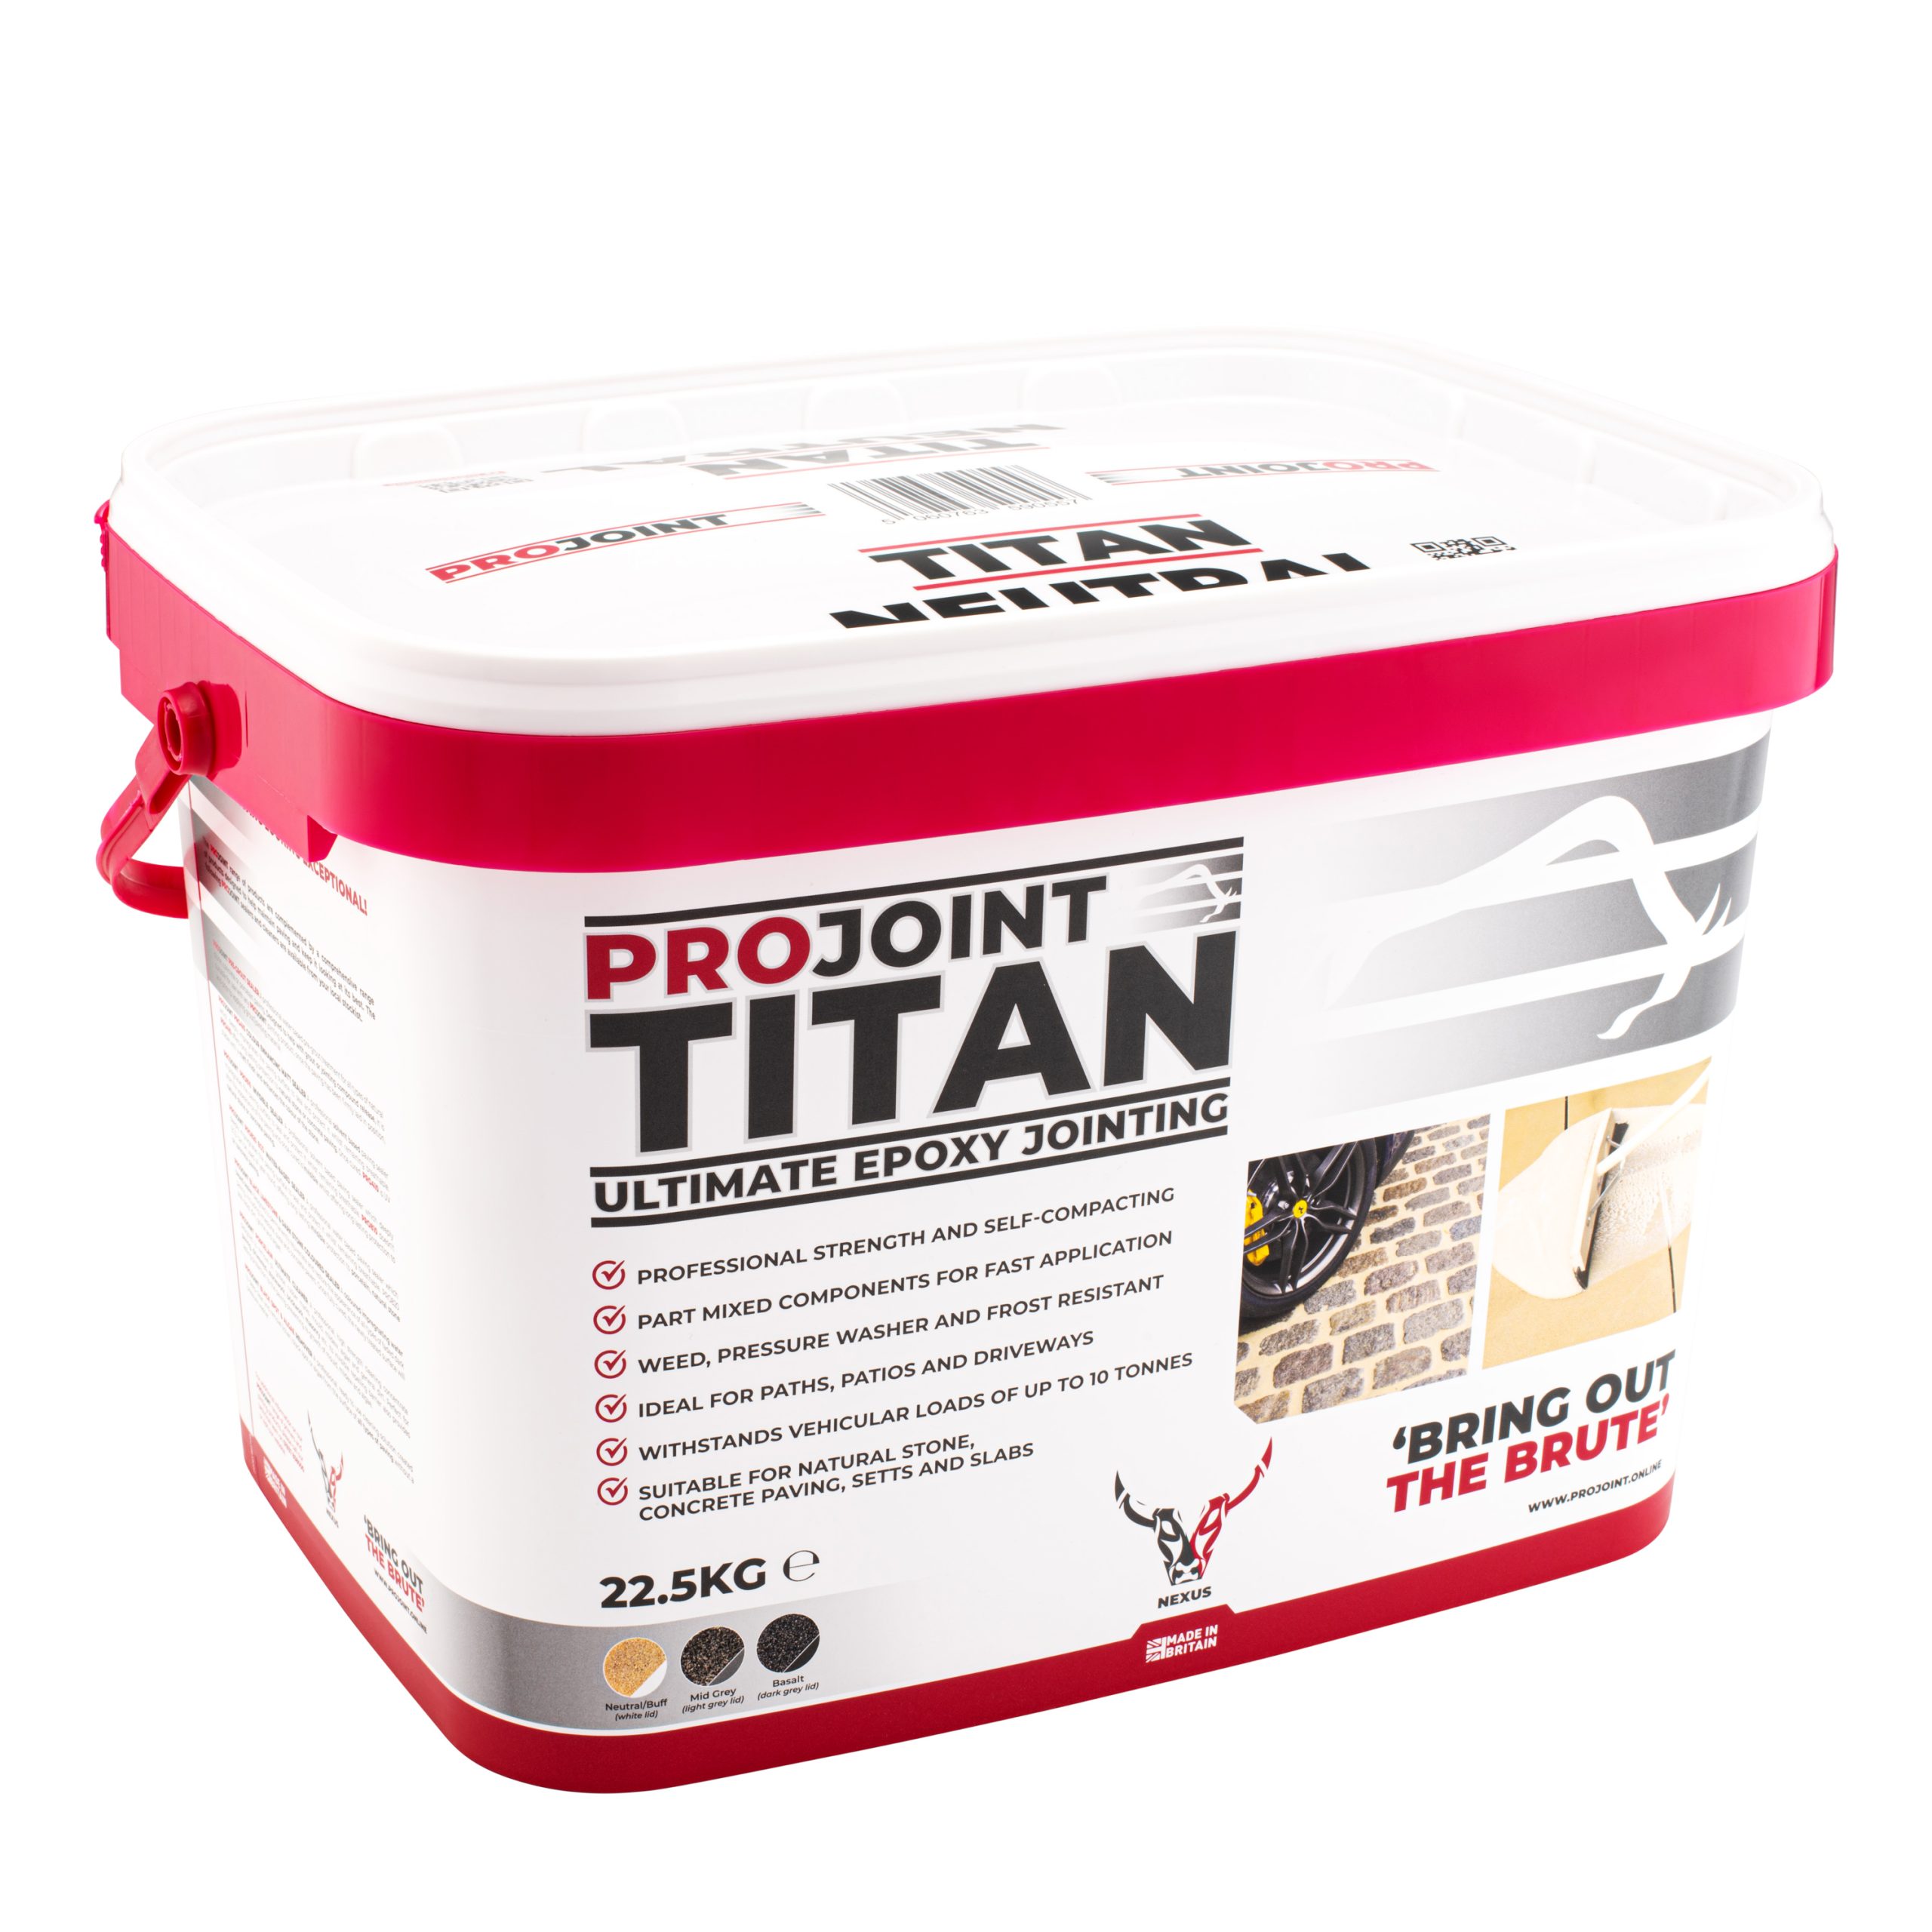
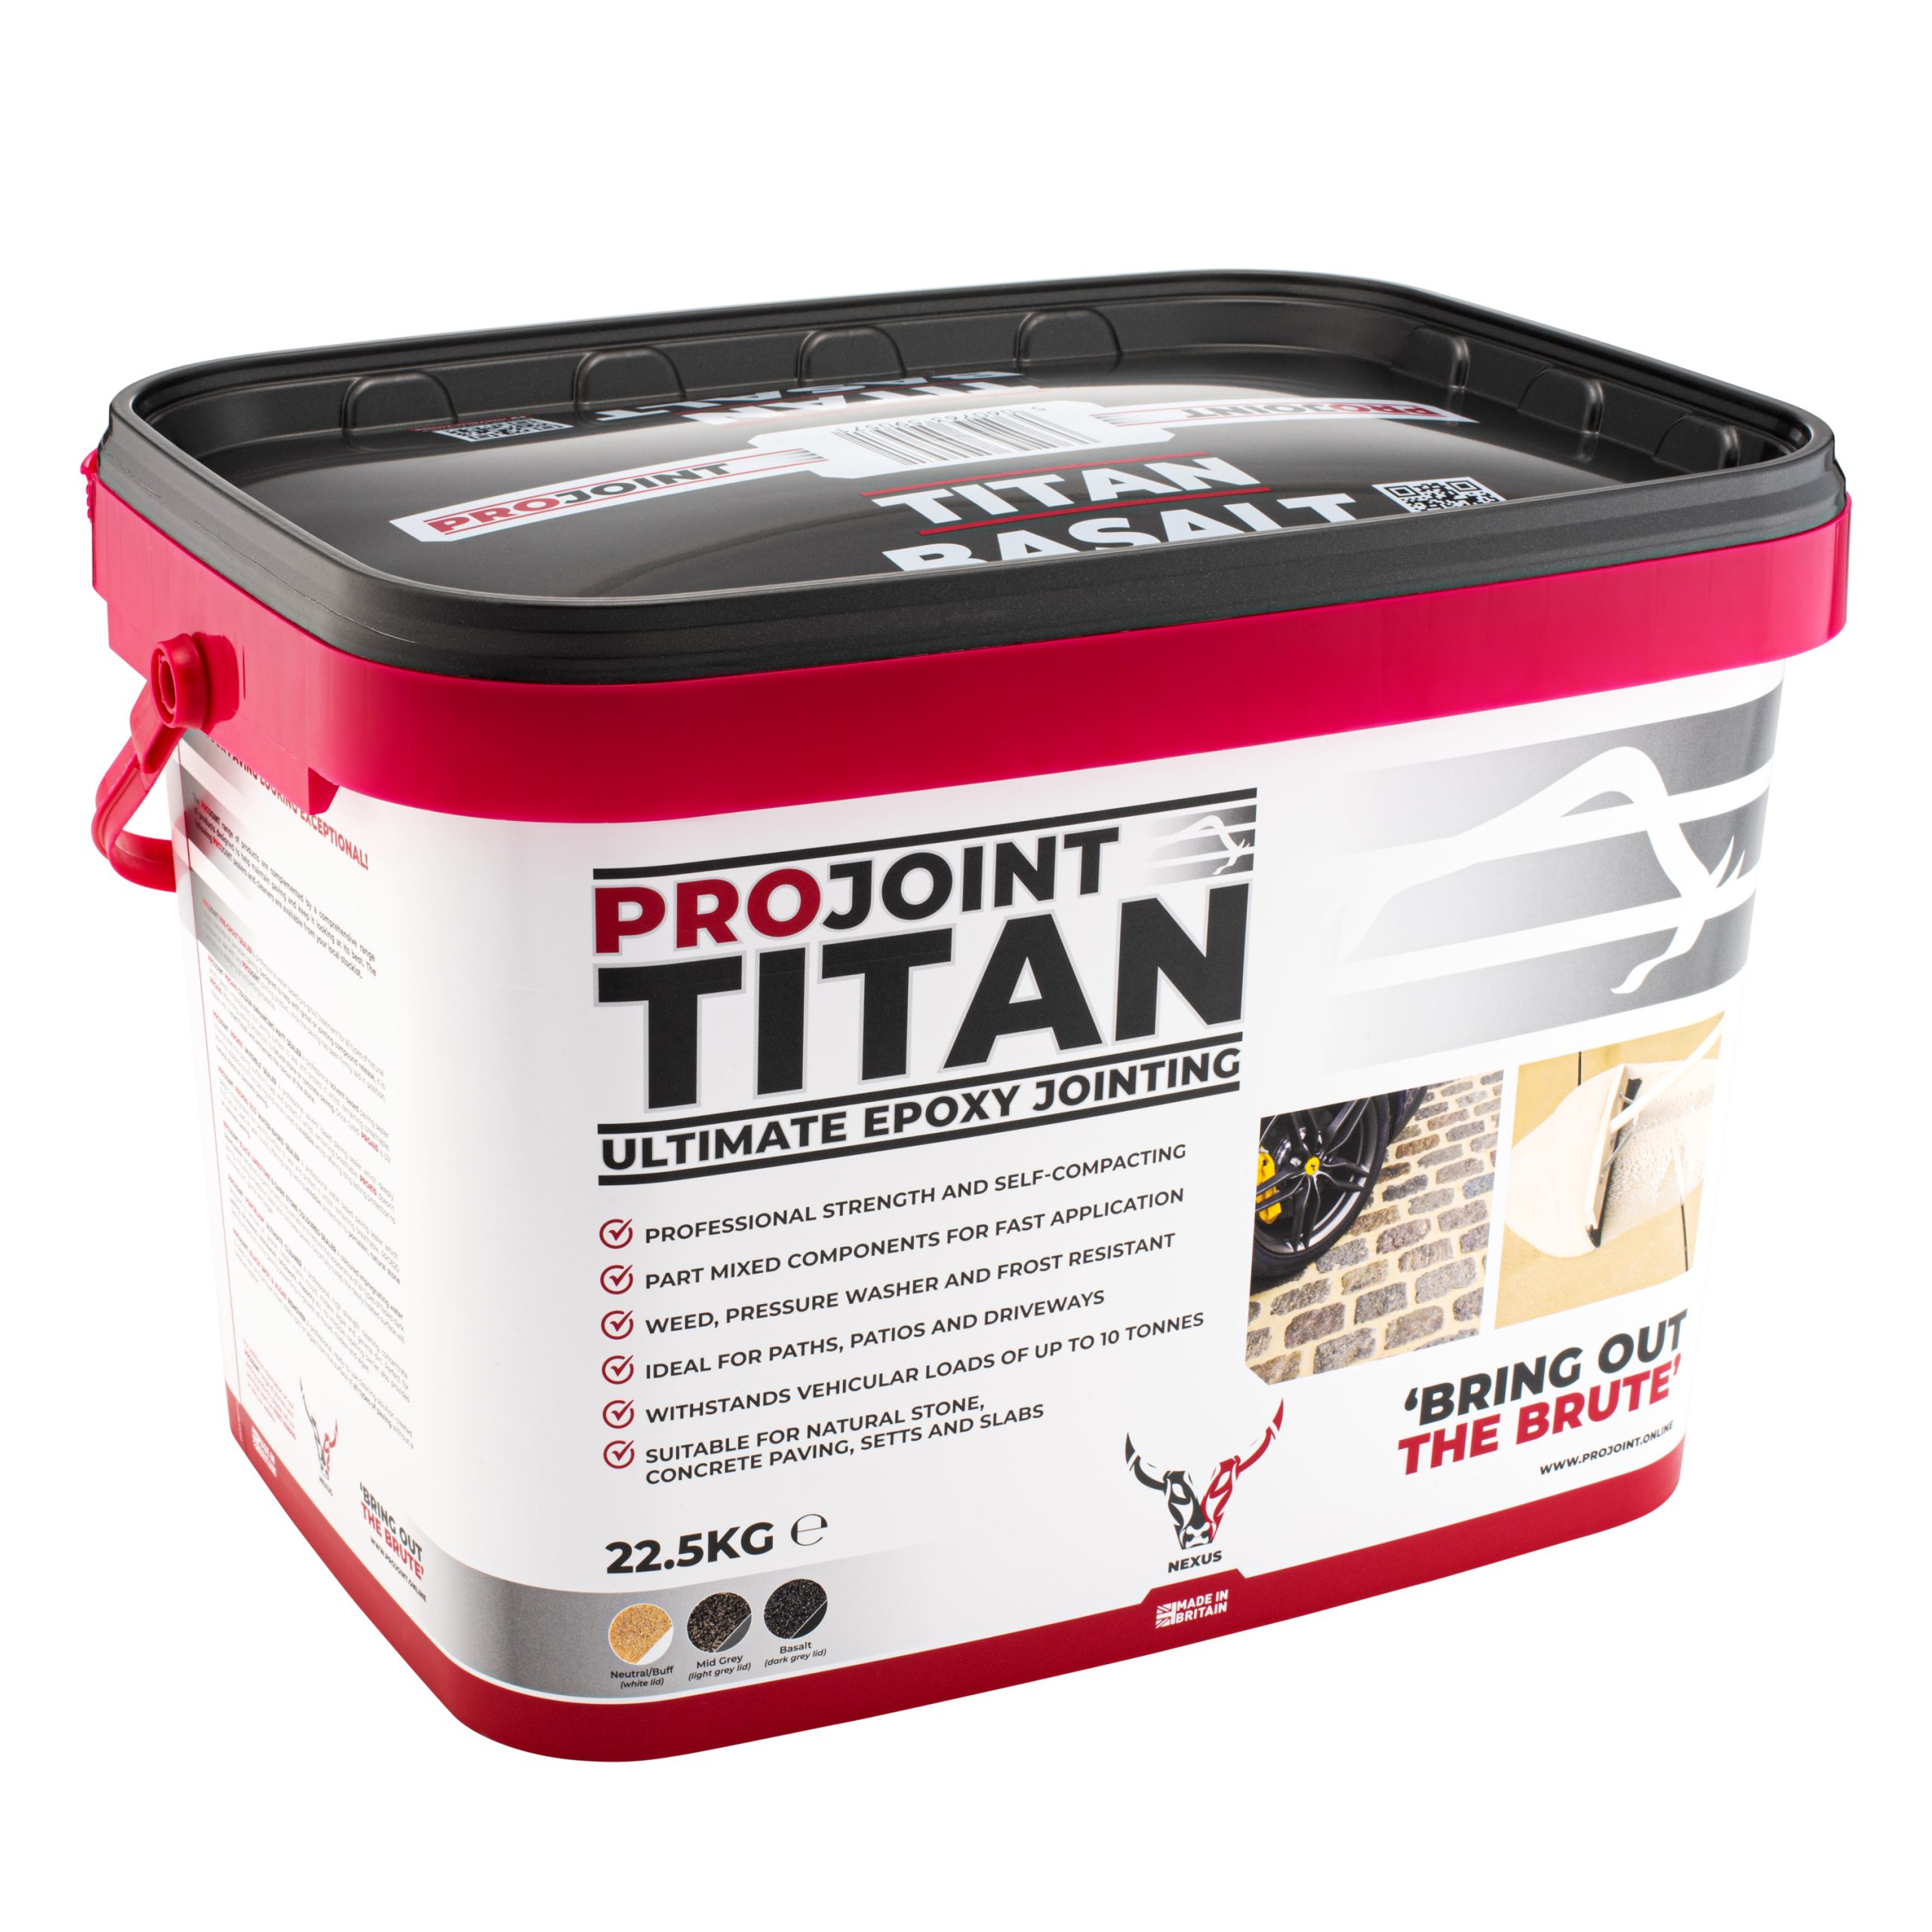
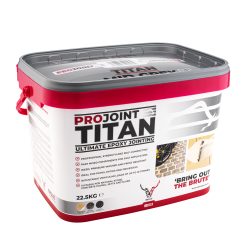
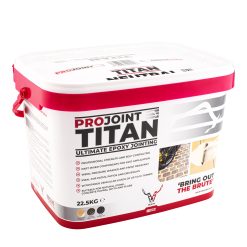
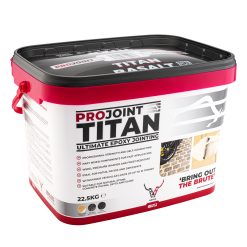
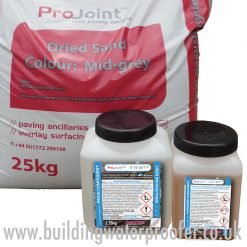
Nexus ProJoint TITAN ultra high strength epoxy paving grout
£71.94 inc. VAT
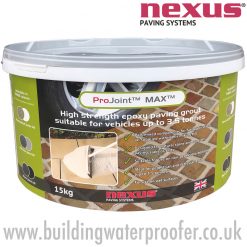
ProJoint TITAN replaces the discontinued Nexus Projoint Max. Similar to ProJoint Fusion, ProJoint TITAN offers a quick and easy solution to filling joints between paving slabs and setts but in areas of both vehicular access and general foot traffic.
Ultra high strength epoxy paving grout – suitable for vehicular areas up to 10 tonnes
ProJoint TITAN replaces the discontinued Nexus Projoint Max
Similar to ProJoint Fusion, ProJoint TITAN offers a quick and easy solution to filling joints between paving slabs and setts but in areas of both vehicular access and general foot traffic.
Suitable for natural stone and concrete paving, ProJoint TITAN is a high strength two-part epoxy paving grout and is very simple to use. Resin and sand are supplied ready-mixed within the tub, and only requires the addition of the enclosed hardener to activate the chemical cure. Once cured, ProJoint TITAN delivers a weed-free, frost resistant joint which resists pressure washing.
Trade / DIY benefits
- Permeable bedding mix not required
- Part mixed components for fast application, all supplied within the mixing tub
- Professional strength, self-compacting and suitable for joint widths of 5mm upwards
- Weed, pressure washer and frost resistant
- Ideal for paths and patios as well as driveways or other vehicular areas (up to 10 tonnes)
- Suitable for natural stone and concrete paving, setts and slabs
- Ultra high professional strength
Trade / DIY applications
- Paving grout
- Sett grout
- Natural stone grout
- Concrete paving grout
- Slab grout
- Path grout
- Driveway grout
- Vehicular area grout
How to Step-by-Step
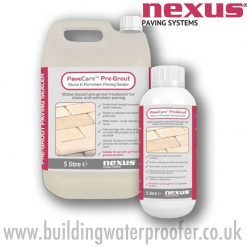
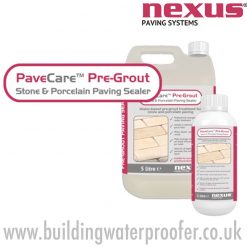
- Paving should be firmly bedded and stable prior to filling joints and laid on bedding material suitable for the intended traffic loading (up to 10 tonnes). ProJoint TITAN can be installed on paving with either a permeable or non-permeable bedding. Care should be taken to ensure no soil or dirt is left or walked onto the surface of the paving during the application process as this may get trapped in the resin once cured. We recommend using ProJoint PRE-GROUT SEALER prior to jointing.
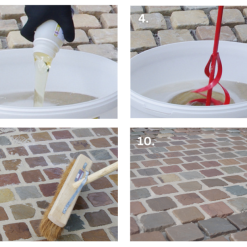
- Liberally wet the paving prior to mixing the product, allowing the water to soak into the surface. Projoint TITAN is designed to be mixed in its tub using a plasterers’ whisk.
- When wearing appropriate PPE, remove the bottle of hardener from the tub, open carefully and empty the full bottle into the resin/ sand mix.
- Using a plasterers’ whisk, mix for 3 minutes until the mix becomes a free-flowing slurry.
- Ensure the paving is still wet (if not, spray again) and the surface temperature is between 3°C and 25°C. Do not allow the paving to dry out during application – care should be taken when using the product on dark paving in direct sunlight due to high surface temperatures.
- Empty the mix directly onto the paving.
- Move the mix using a squeegee over the total area – allowing the empty joints to fill completely.
- Leave for 5 to 15 minutes to allow the foaming in the slurry to disappear.
- Using a WET MEDIUM SOFT BRUSH at 45° to joints, sweep off the excess sand leaving the paving clean.
- It is particularly important to sweep the surface multiple times before the product cures, to ensure any remaining residue does not set on the paving surface. Do not add additional water to the surface at this time. The fluid nature of the mortar means that no further compaction of the joint is required.
- A trowel or iron can be used to achieve a traditional finish if necessary, once the mortar has begun to cure.

What you’ll need
- Squeegee
- Hosepipe for water / misting
- Plasterers’ Whisk or similar stirrer
- Block brush (optional)
- Trowel or Iron (optional)
Product sizes
22.5kg
Coverage
Approximate coverage per 22.5kg tub
| Joint Size | 600 x 900mm slabs | Four size Indian (600mm series) |
200x100mm setts |
|---|---|---|---|
| 5 x 20mm | 52m² | 37m² | 8.4m² |
| 10 x 20mm | 26m² | 18.5m² | 4.2m² |
| 15 x 20mm | 17.5m² | 12.5m² | 2.8m² |
Handy Tips
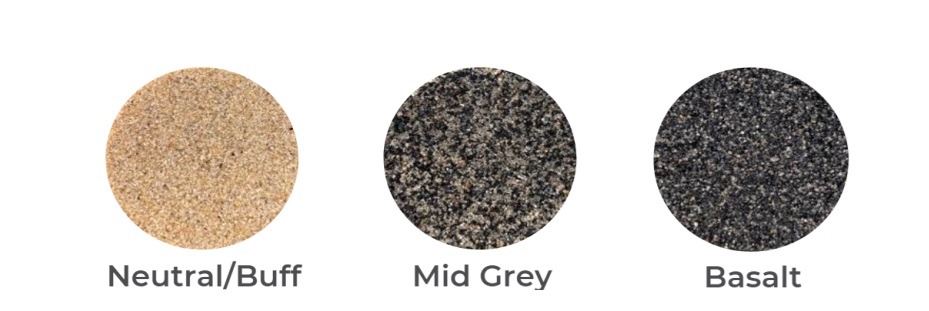
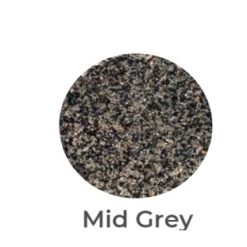
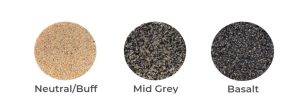
NOTE: as sand is a natural product, some minimal colour variance may occur. As screen colours can vary, the product colours shown above are representative only – for colour selection, cured product
Downloads
| Weight | 22.5 kg |
|---|---|
| Colour | Neutral, Mid Grey, Basalt |
Related products
Patios and Paving
Floors and Balconies
Preparation

