Products in Action
How to use Porcelain Grout for your paving
How to grout porcelain paving on your patio or path.
If you are looking for a professional finish to your porcelain paved patio then this guide will help you assess whether you think you can do it and buy porcelain grout online.
We’re not specifying which product we are using although we are basing it on Nexus Projoint Porcelain Grout. Make sure you check product specifics since they won’t all be the same.
As with most jobs you need to make sure you do the preparation bit correctly however boring that might seem!
First, check your paving is ready to grouted. If so, it will be firm and the joints will be clean and free of dust, adhesive, bedding mortar or other contamination. It needs to be dry and stay that way, so check the weather forecast. Also avoid frost and hot temperatures.
Preparation for grouting porcelain paving
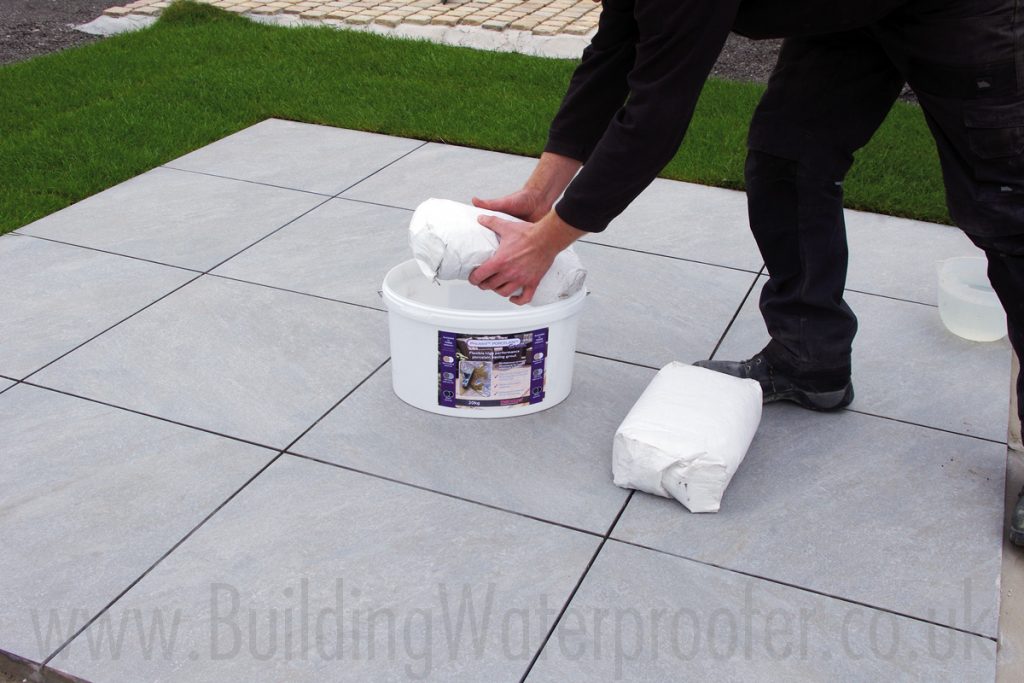
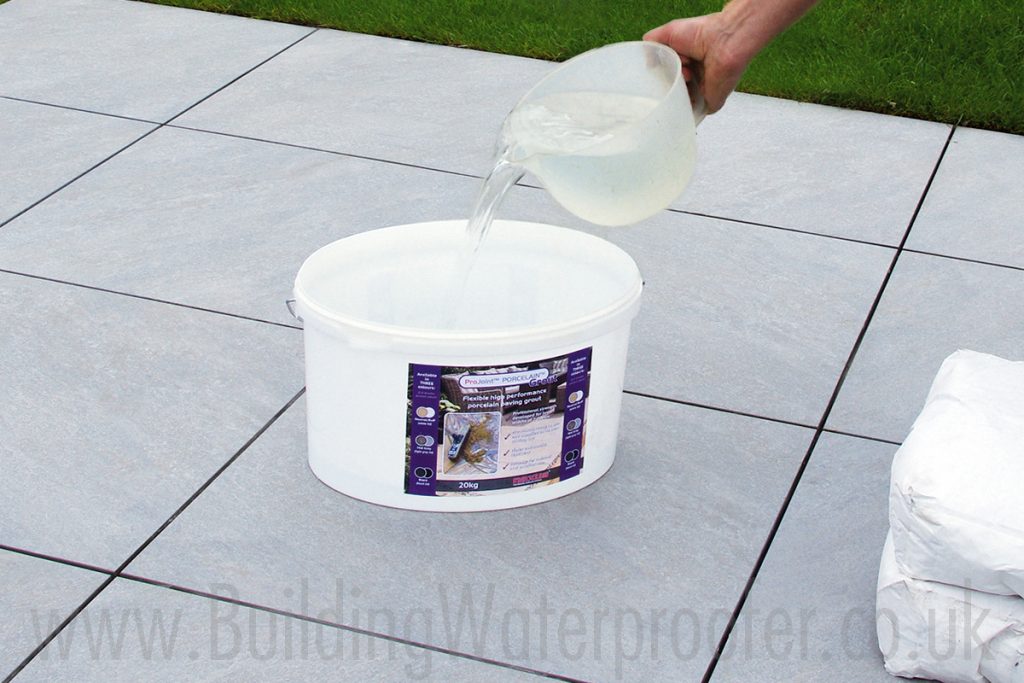
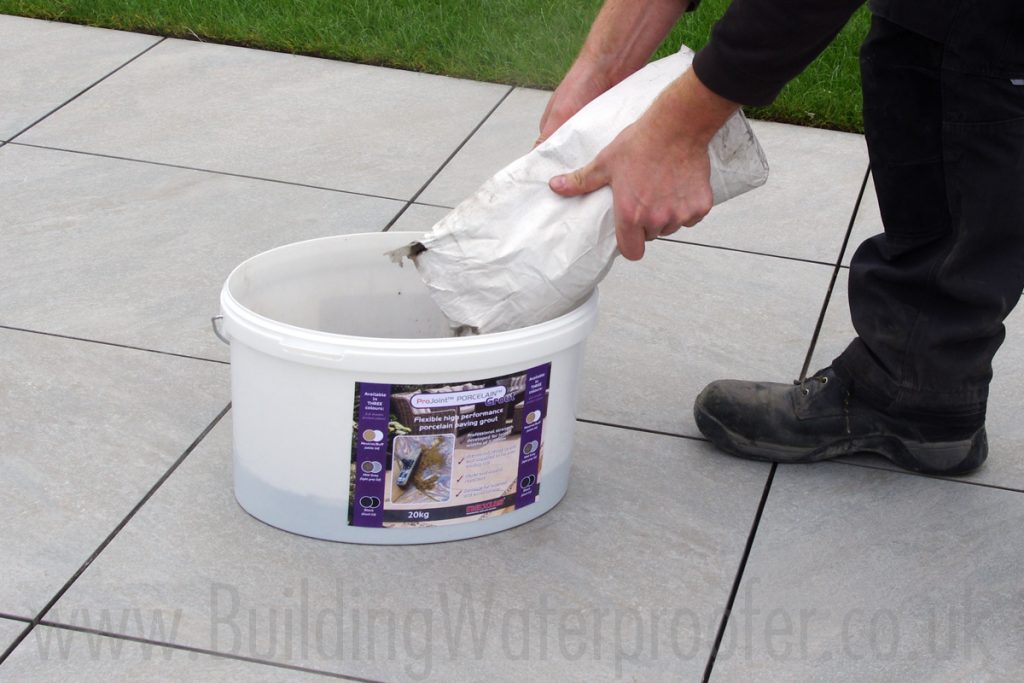
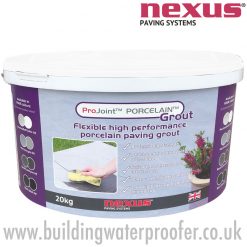
For this step-by-step we are using Nexus ProJoint Porcelain Grout, which should be mixed with 275ml of cold clean water per 1kg of grout.
- Remove the bags from the tub and add the measured quantity of water.
- Slowly add the measured amount of powder.
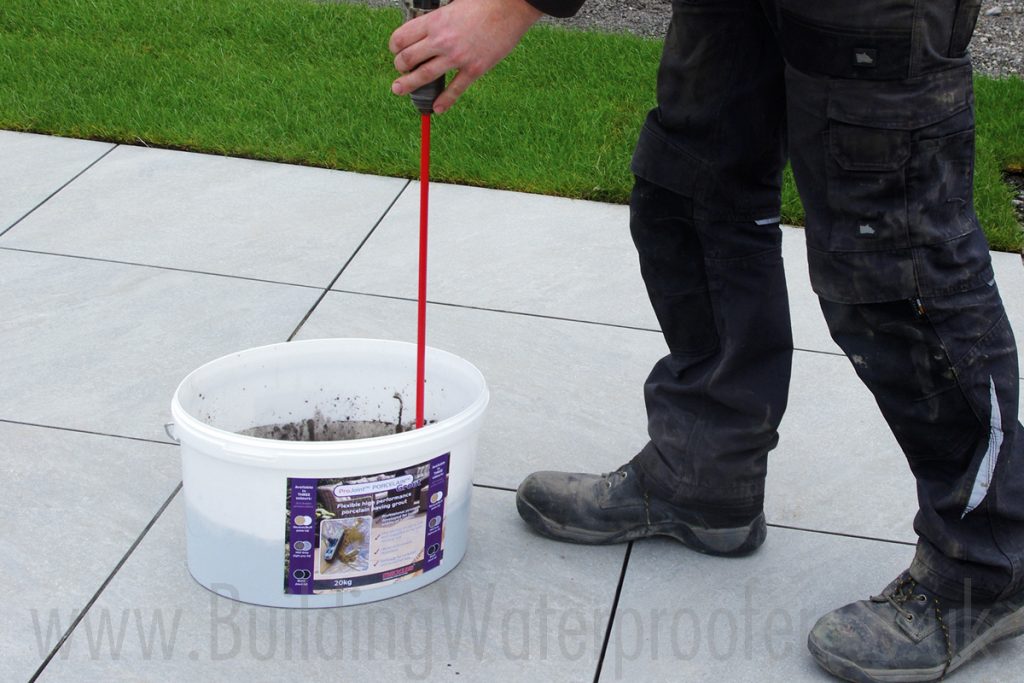
- Mix for 2 minutes using a drill and paddle/plasterers’ whisk, until a smooth creamy consistency is reached.
- Allow to stand for 2 minutes. This is important as the process allows the polymer additives to dissolve and activate.
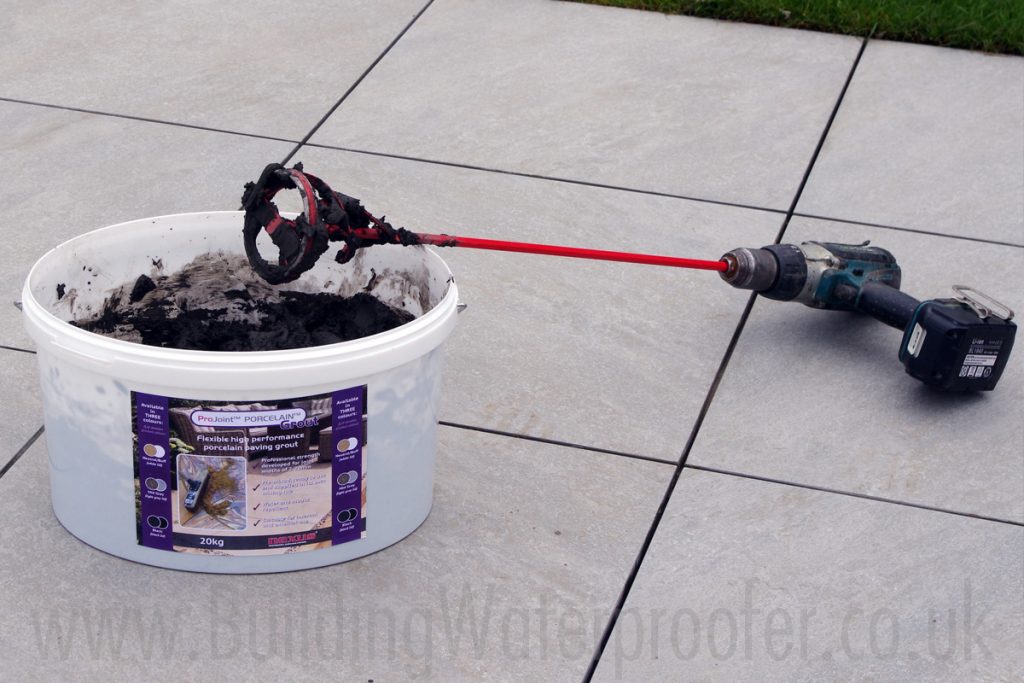
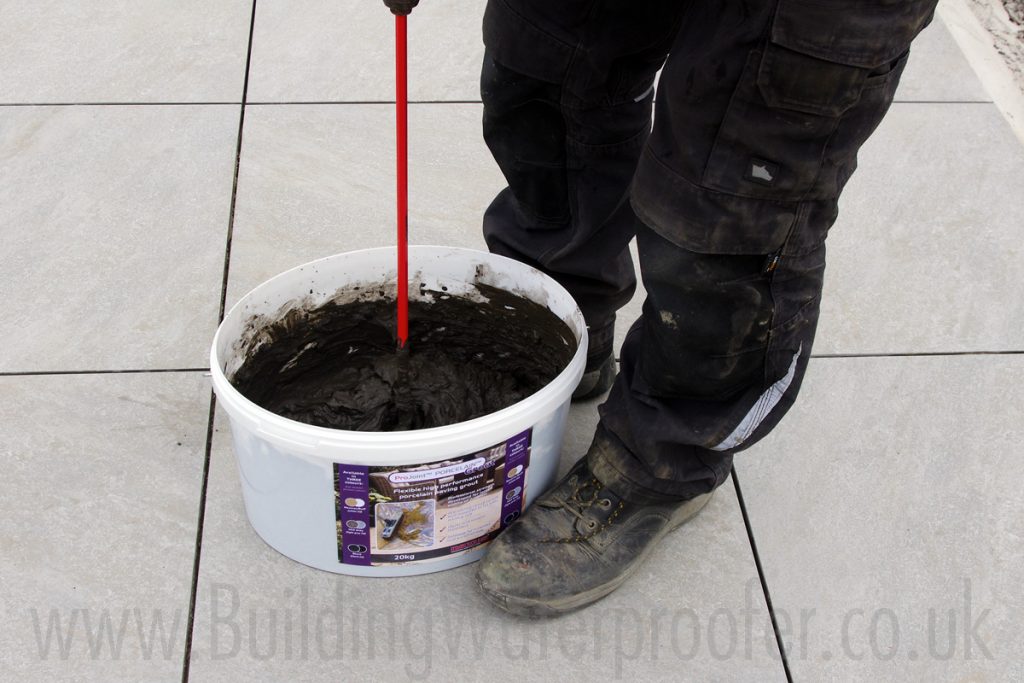
- Re-mix for 2 minutes. Do not add any more water as this may cause a weakening of the grout and may also lead to discolouration in the form of efflorescence.
Pro Tips
Never add water or fresh grout powder to a grout mix which has already started to set.
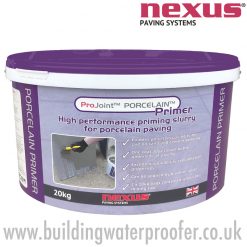
Use Nexus ProJoint Porcelain Primer prior to laying paving and grouting porcelain paving to help with adhesion and so avoid your paving or tiles lifting up too easily.
A grout film and/or pigment stains (especially with dark colours) may remain on paving after jointing. A trial grouting area is recommended to check suitability.
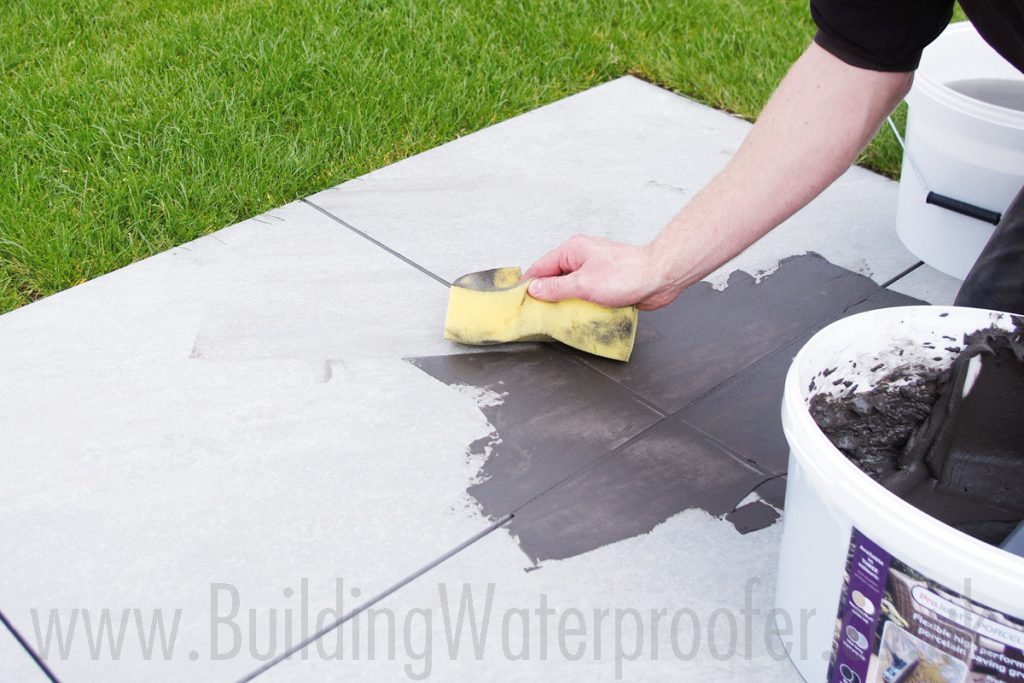
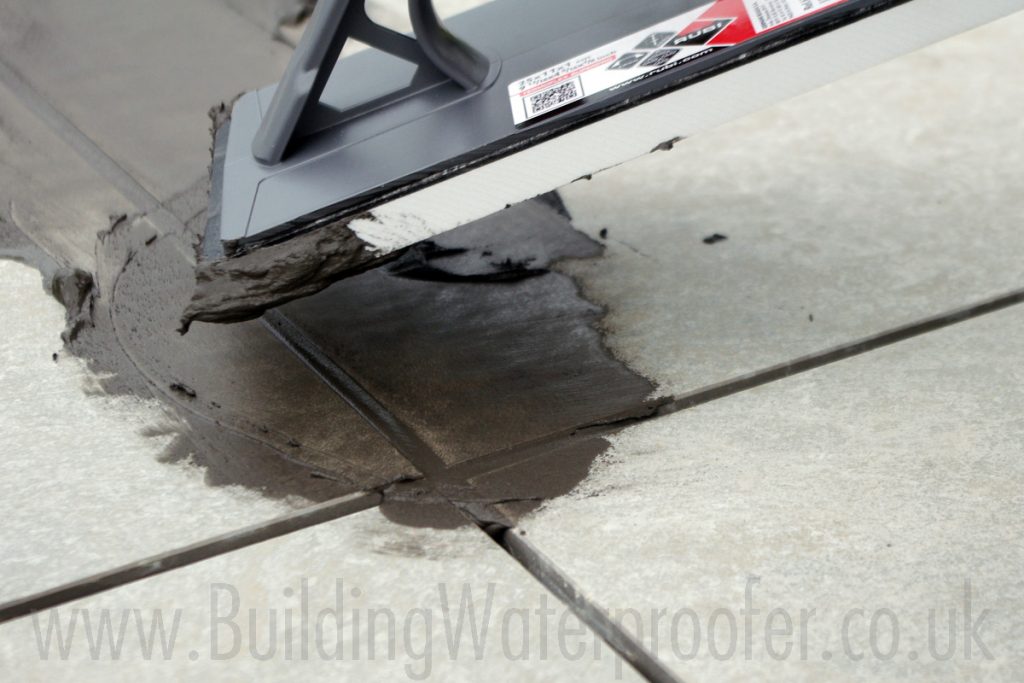
Applying the porcelain grout
- Use a rubber float to work the grout deeply into the joints until flush with the paving. Excess grout should be removed as work proceeds.
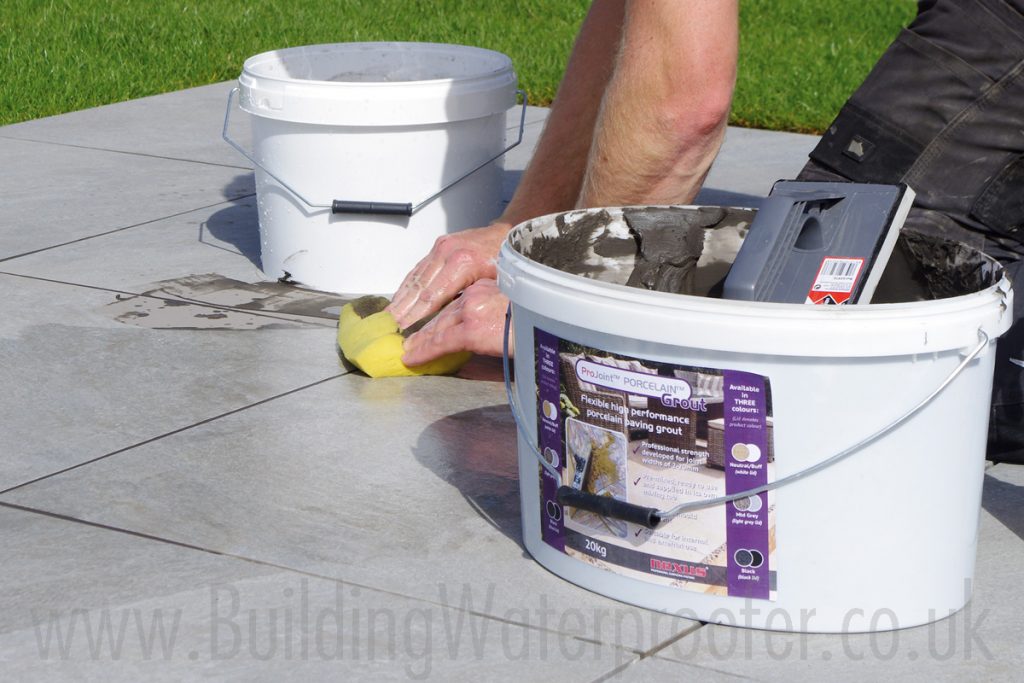
- Any final residues left on the tile face can be removed by wiping off with a damp sponge up to 30 minutes after application. Ensure you have plenty of clean water for removing grout whilst wet/damp.
- We recommend the use of a washboy and sponge float to clean
the grout residue from the surface of the porcelain and provide a smooth finish on the joints. Textured paving may need additional cleaning to remove once dry. Any dry film remaining on the surface can be removed by polishing off with a dry cloth when the grout has hardened in the joints.
The pot life of the mixed grout is approximately 30 to 40 minutes at 20°C.
All tools should be washed out with water immediately after use. Waste material should not be emptied into drainage systems.
Newly grouted joints should be protected from rain or frost during the curing process.
Cure times are dependent on temperature and humidity.
Porcelain Paving Grout & Related Products
Patios and Paving
Patios and Paving