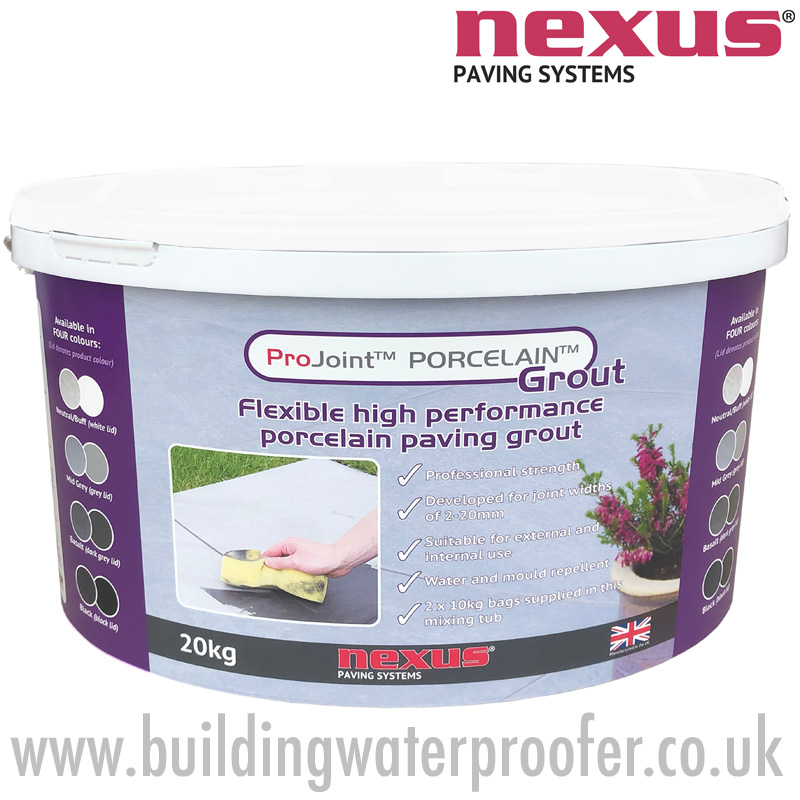
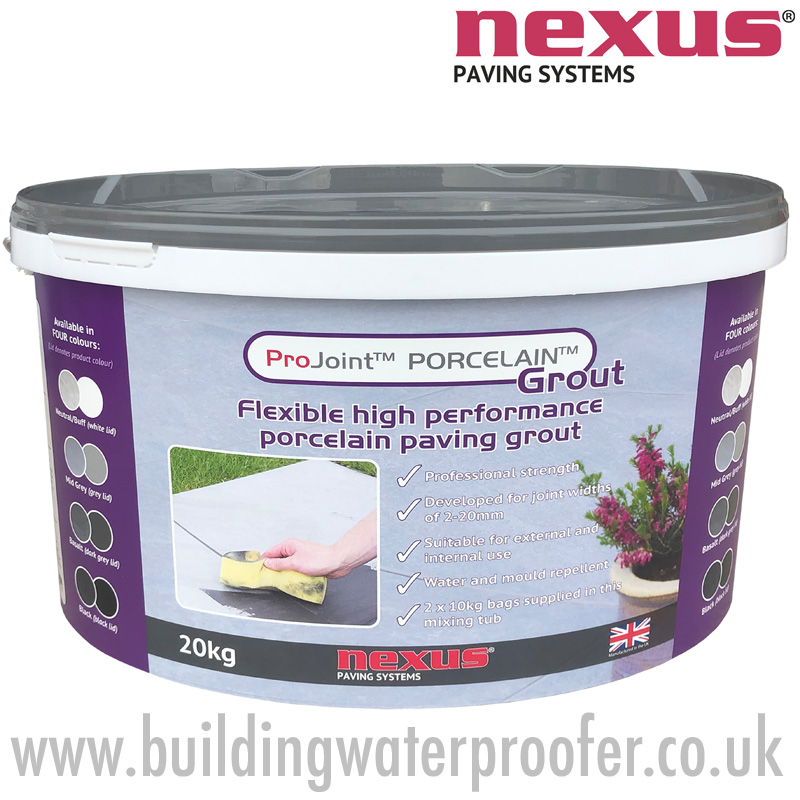
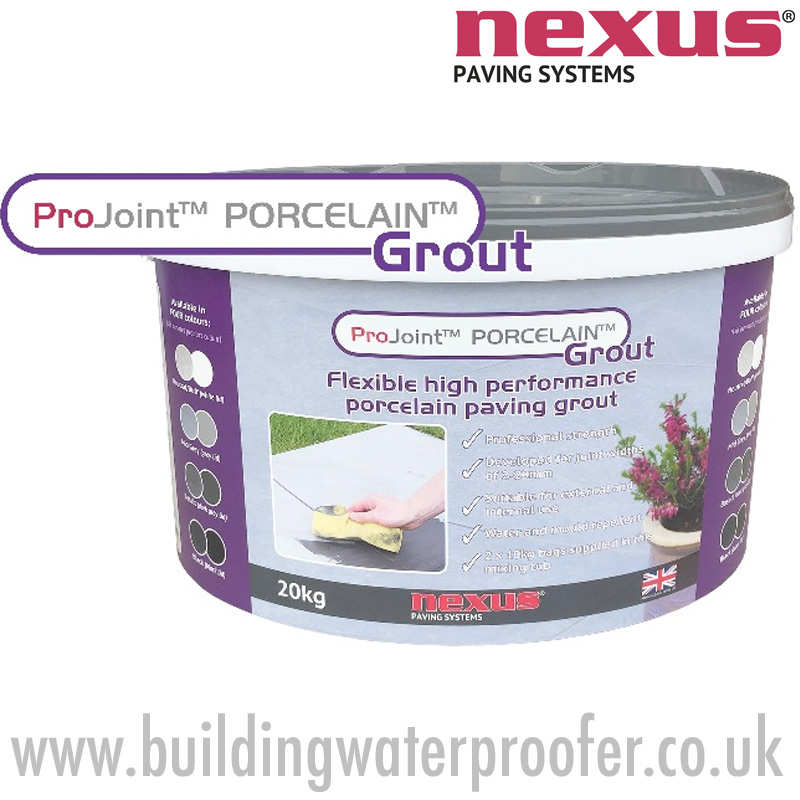
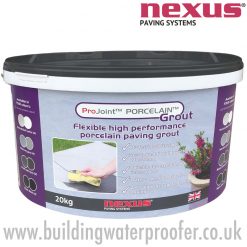
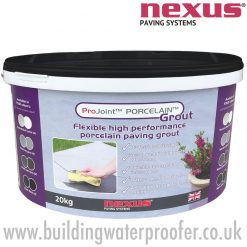
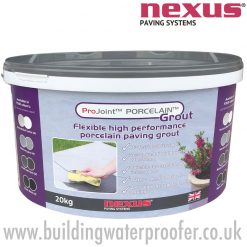
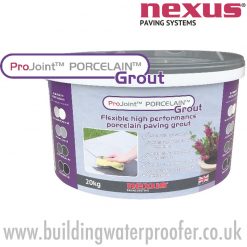
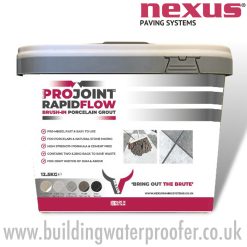
Nexus ProJoint Porcelain Grout for porcelain paving 20kg
£47.94 inc. VAT
ProJoint Porcelain Grout is a flexible and high performance porcelain paving grout specially formulated for porcelain paving, ProJoint Porcelain Grout has been developed for joint widths of 2 to 20mm and is ideal for internal or external use.
Flexible and high performance porcelain paving grout for porcelain paving
Get a professional finish to your porcelain paving with ProJoint Porcelain Grout – a flexible and high performance porcelain paving grout giving your paving the wow factor.
ProJoint Porcelain Grout has been specially formulated for use with porcelain paving with joint widths of 2 to 20mm. ProJoint Porcelain Grout is ideal for internal use on your porcelain tiled rooms or external use with porcelain patios and paths.
One really good benefit of ProJoint Porcelain Grout is the anti-mould growth technology with added silicone. This helps limit mould growth and allows ProJoint Porcelain Grout to repel water from the surface of the grout, whilst allowing vapour to pass through.
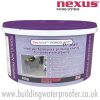
ProJoint Porcelain Grout is supplied in two 10kg bags to allow the bucket which is ideal for mixing it in.
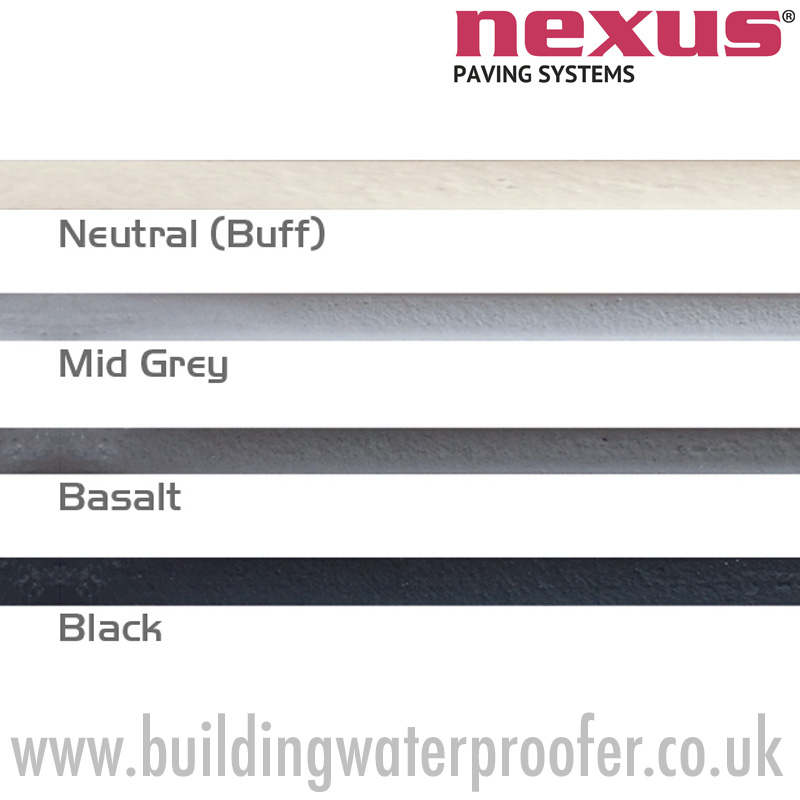
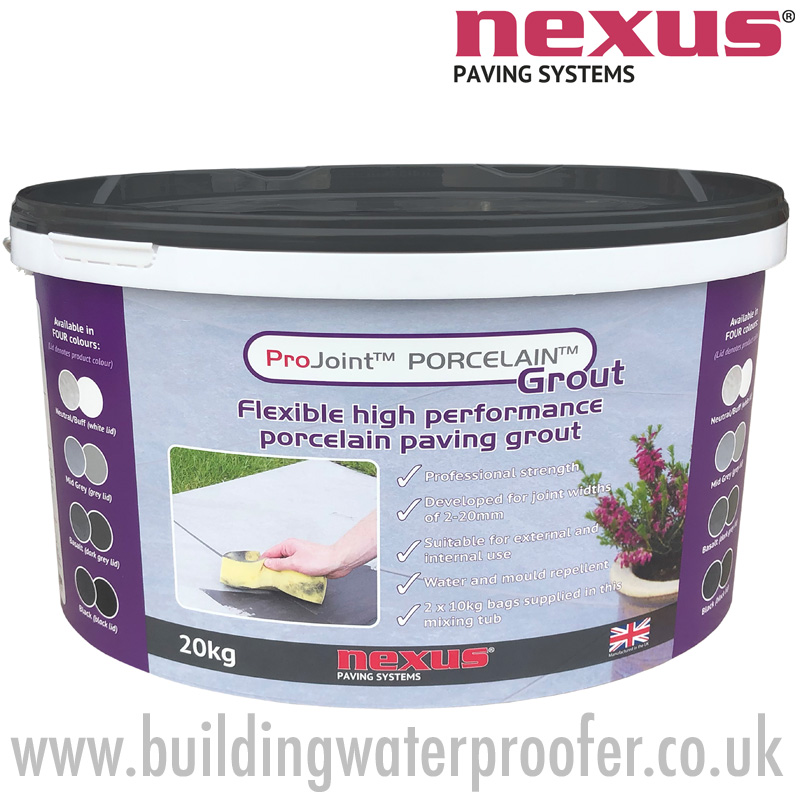
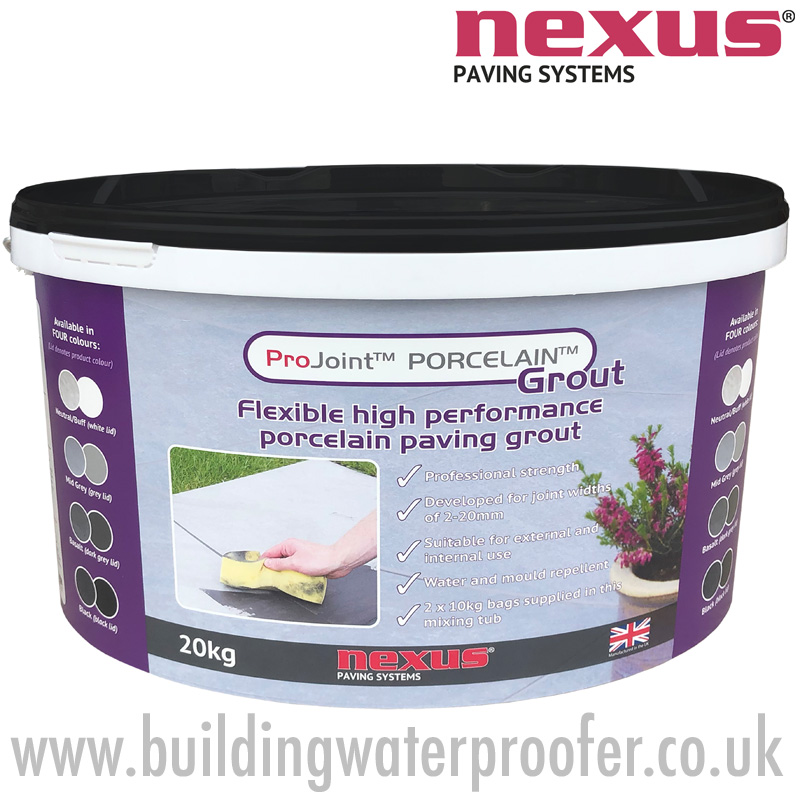
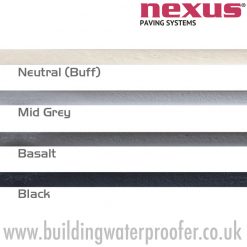
ProJoint Porcelain Grout is available in four colours: Neutral/Buff, Mid Grey, Basalt and Black.
Downloads
Nexus Projoint Porcelain Grout application instructions
Trade / DIY benefits
- Professional strength
- Developed for joint widths of 2mm to 20mm
- Suitable for external and internal use
- Limits mould growth and repels water
- Allows vapour to pass through the surface of the grout
- Ready to mix
- Two x 10kg bags contained within the lidded mixing tub
We recommend using the ProJoint Porcelain Primer prior to laying porcelain paving to give your porcelain tiles the best adhesion.
Trade / DIY applications
- Porcelain patio paving grout
- Porcelain floor tile grout
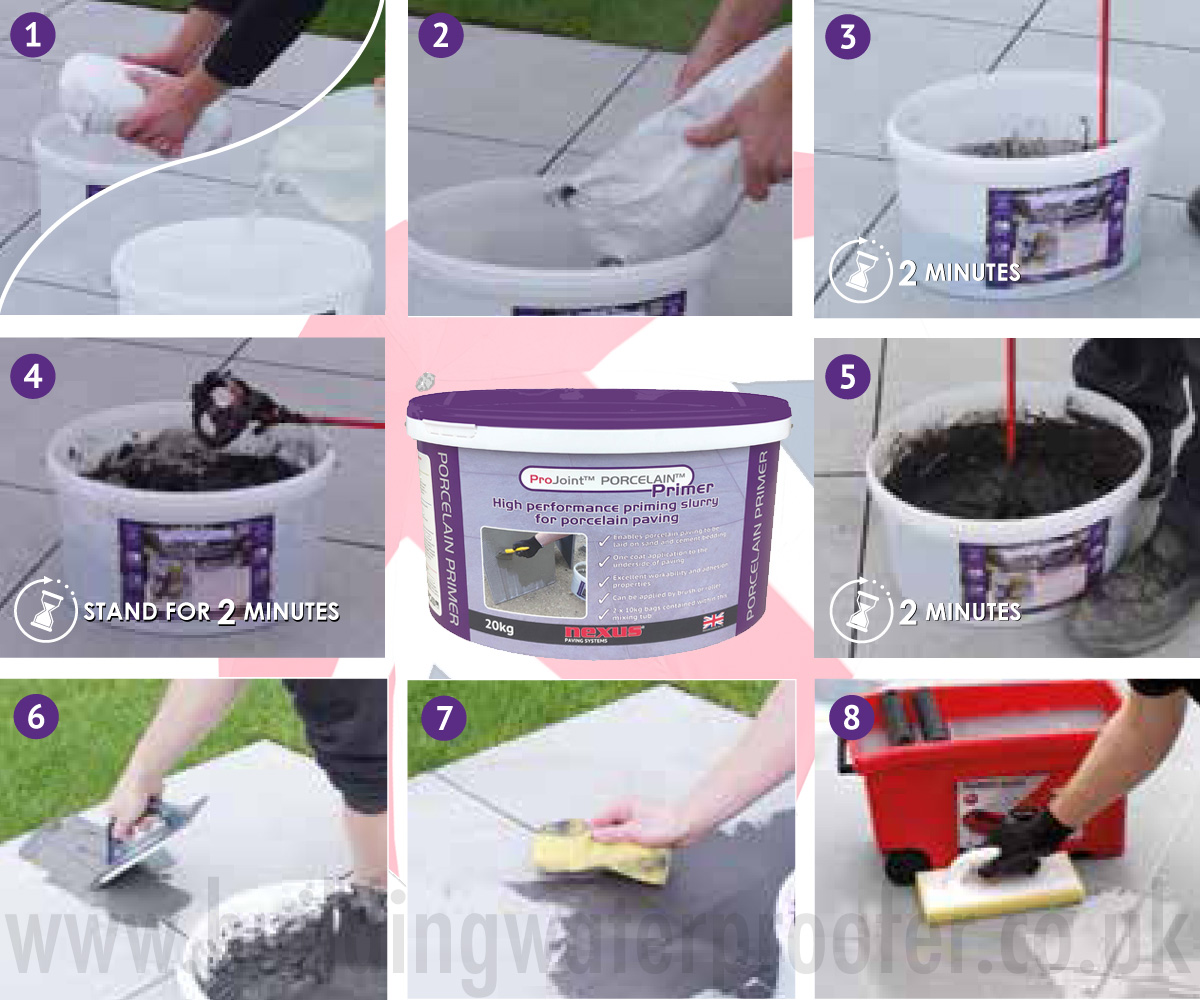

How to Step-by-Step
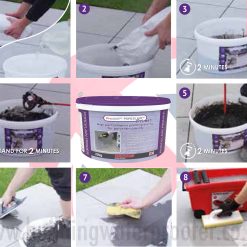
- ProJoint Porcelain Grout should be mixed with 275ml of cold clean water per 1kg of grout. Remove the bags from the tub and add in the measured quantity of water.
- Slowly add the measured amount of powder.
- Mix for 2 minutes using a drill and mixing paddle, plasterers’ whisk or similar, until it reaches a smooth creamy consistency.
- Allow the mixture to stand for 2 minutes.
- Re-mix for 2 minutes. This process allows the polymer additives to dissolve and activate. Do not re-wet or add too much water as this may cause a weakening of the grout and may also lead to discolouration in the form of efflorescence.
- Use a rubber float to work the grout deeply in to the joints until flush with the paving. Excess grout should be removed as work proceeds.
- Any final residues left on the tile face can be removed by wiping off with a damp sponge up to 30 minutes after application. Ensure you have plenty of clean water for removing grout whilst wet/damp.
- We recommend the use of a washboy and sponge float to clean the grout residue from the surface of the porcelain and provide a smooth finish on the joints.Textured paving may need additional cleaning to remove once dry. Any dry film remaining on the surface can be removed by polishing off with a dry cloth when the grout has hardened in the joints.
What you’ll need
- ProJoint Porcelain Grout bags
- Cold clean water
- Drill with mixing paddle, plasterers’ whisk or baton
- Rubber float
- Washboy
- Sponge float
Tips
- When working outdoors in warm weather, any freshly grouted joints should be kept damp using a fine mist spray.
- The pot life of the mixed grout is approximately 30-40 minutes at 20°C.
- All tools should be washed out with water immediately after use.
- Waste material should not be emptied in to drainage systems.
- Newly grouted joints should be protected from rain or frost during the curing process.
- Ensure that any protective cover does not come into contact with the fresh joints; air circulation over joints is required during curing.
How long does it take to cure?
Cure times are dependent on temperature and humidity, but as a guide can accept foot traffic after 3 hours at 20°C and a full cure after 72 hours at 20°C. Please note that cold temperatures can delay the curing time.
Coverage
Approximate coverage per 20kg kit
| Joint Size | 1200x600mm slabs | 600x600mm slabs | 900x220mm planks |
| 4x20mm | 62.5m2 | 47.17m2 | 27.47m2 |
| 5x20mm | 50.0m2 | 37.31m2 | 22.12m2 |
| 6x20mm | 41.68m2 | 31.25m2 | 18.38m2 |
| Weight | 20 kg |
|---|---|
| Colour | Neutral/Buff, Mid Grey, Basalt, Black |
Related products
Preparation
Preparation
Floors and Balconies
Tools and Equipment
Preparation

